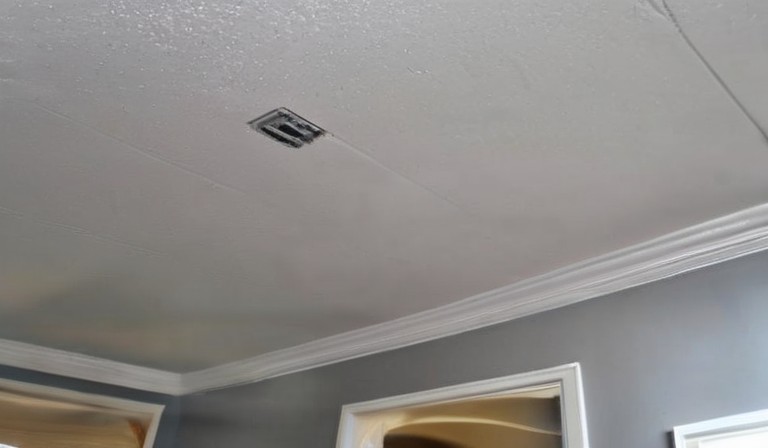
Yes, you can paint over a popcorn ceiling. However, it is important to properly prepare the surface before painting. This includes cleaning any dirt or dust, patching any cracks or holes, and applying a suitable primer. Additionally, it is crucial to choose the right type of paint and techniques to avoid damaging the textured surface. We recommend consulting a professional or doing thorough research to ensure you achieve the desired results.
Steps to Prep and Paint a Popcorn Ceiling
You may have a popcorn ceiling that is showing signs of wear and tear or you might just want to refresh the look of your home. Either way, prepping and painting a popcorn ceiling can be a simple and cost-effective way to give your space a new lease of life. The first step is to ensure that the ceiling is properly cleaned. This can be done by using a broom or vacuum cleaner to remove any dust or debris. Next, make sure to cover any furniture or items in the room to protect them from paint splatters. Using a primer specifically designed for popcorn ceilings is crucial in order to achieve a smooth and seamless result. Once the primer is dry, you can proceed to paint the ceiling with your chosen color. It is recommended to use a thick nap roller to ensure even coverage. Lastly, be sure to allow the paint to completely dry before removing the protective coverings and enjoying your refreshed popcorn ceiling.
Recommended Paint Products for Popcorn Ceilings
If you have a popcorn ceiling and you're looking to freshen it up with a new coat of paint, it's important to choose the right products for the job. First, make sure to check if your popcorn ceiling contains asbestos. If it does, it's highly recommended to hire a professional to handle the removal and painting process. For non-asbestos popcorn ceilings, you'll want to use a roller with a thick nap to ensure the paint covers the textured surface evenly. It's also a good idea to use a paint with a flat or satin finish, as this will help to minimize the appearance of any imperfections in the ceiling. Finally, don't forget to properly prime the surface before applying the paint to ensure long-lasting results. By taking these factors into consideration, you can achieve a freshly painted popcorn ceiling that complements your overall style and enhances the look of your space.
Techniques for Painting Over Popcorn Ceilings
Even though popcorn ceilings were popular in the past, many people now prefer a smoother, more modern look. If you're looking to update your home by painting over your popcorn ceilings, there are a few techniques you can consider. First, make sure to prepare the room properly by removing furniture and covering the floor with drop cloths. Next, use a scraper to gently remove any loose or damaged popcorn texture. After that, apply a coat of primer to the entire ceiling to ensure an even surface. Finally, use a roller to apply your desired paint color. Remember to use slow, even strokes to avoid creating streaks or uneven patches. By following these steps, we can transform our outdated popcorn ceilings into a more contemporary, refreshed space.
Pros and Cons of Painting Popcorn Ceilings
You may be considering painting your popcorn ceilings, but before you do, it's important to weigh the pros and cons. Painting popcorn ceilings can have both aesthetic and practical benefits. For one, it can give your space a more modern and updated look. Additionally, it can help to brighten the room and make the ceilings appear higher. On the practical side, painting popcorn ceilings can also help to seal any asbestos that may be present, as long as the popcorn texture is intact. However, there are also some drawbacks to consider. It can be a time-consuming and messy process, as the texture of the ceiling can make it more difficult to achieve an even coat of paint. Additionally, if the popcorn texture is damaged or crumbling, painting could make it more difficult to repair in the future. Another consideration is the potential cost of hiring a professional to handle the job, as it can be more challenging to DIY than painting a flat ceiling. Overall, before making a decision, it's important to carefully evaluate the condition of your popcorn ceilings and the desired outcome to determine if painting is the right choice for you. Learn about the history and utility of turrets in home design.
Alternative Options for Updating Popcorn Ceilings
If you have popcorn ceilings that you're not too fond of, don't worry, there are alternative options for updating them. One option is to scrape off the popcorn texture and apply a fresh coat of paint for a clean and modern look. Another option is to cover the popcorn with a layer of drywall or tongue and groove paneling for a more polished appearance. You could also consider installing a false ceiling with recessed lighting to create a more contemporary and sophisticated feel. Whatever option you choose, be sure to consult with a professional to ensure proper installation and to assess any potential structural issues. For those interested in unique home design ideas, consider painting your bulletin board as a creative project.
Common Mistakes to Avoid When Painting Popcorn Ceilings
By avoiding these common mistakes, you can ensure a smooth and professional-looking finish on your popcorn ceilings. First and foremost, it's important to properly prepare the surface before you begin painting. This includes cleaning the ceiling thoroughly to remove any dirt or dust that may be present. Additionally, it's crucial to prime the ceiling before applying any paint. This will help the paint adhere better and ensure a longer-lasting finish. Another mistake to avoid is using the wrong type of paint. Make sure to use a quality paint that is specifically designed for ceilings. Lastly, take your time when painting and use even strokes to ensure a consistent and seamless coat. Avoid rushing through the process, as this can lead to drips or uneven coverage. By following these tips, you can achieve a beautifully painted popcorn ceiling that enhances the overall look and feel of your space. For related tips on updating your kitchen cabinets, learn how to spray paint kitchen cabinets.
Tips for Achieving a Smooth Paint Finish on Popcorn Ceilings
In order to achieve a smooth paint finish on popcorn ceilings, there are a few steps you can follow. First, it is important to prepare the surface properly. This includes cleaning the ceiling to remove any dust or dirt. You can use a solution of warm water and mild detergent for this. Next, you should use a primer specifically designed for ceiling surfaces. This will help the paint adhere better and result in a smoother finish. It is also recommended to use a roller with a high-quality nap to apply the paint. This will help to evenly distribute the paint and minimize streaks or lines. Finally, be sure to apply multiple thin coats of paint, allowing each coat to dry completely before moving on to the next. By following these steps, you can achieve a smooth and professional-looking finish on your popcorn ceilings.
How to Cover or Remove Popcorn Ceilings
You have a few different options when it comes to dealing with popcorn ceilings in your home. First, you can choose to cover them up with a layer of drywall or by installing a decorative ceiling treatment like beadboard or wood planks. This can give your ceiling a fresh, updated look without having to remove the popcorn texture. Alternatively, you can choose to remove the popcorn texture altogether. This can be a messy and time-consuming process, but it can be worth it if you want a smooth, modern ceiling. If you decide to remove the popcorn, be sure to follow safety precautions such as wearing protective clothing and using proper ventilation.
Tools and Materials Needed for Painting Popcorn Ceilings
For more detailed steps, especially on how to properly prepare your walls before painting, read our guide on sanding painted walls.
How to Properly Clean and Prepare Popcorn Ceilings for Painting
The first step in properly cleaning and preparing your popcorn ceilings for painting is to gather the necessary supplies. You will need plastic sheeting to protect your floors and furniture, a ladder or step stool, a scraper or putty knife, sandpaper or a sanding sponge, a bucket, mild detergent, and water. Start by covering your floors and furniture with the plastic sheeting to avoid any mess. Next, use the ladder or step stool to reach the ceiling. Carefully scrape away any loose or flaking popcorn texture using the scraper or putty knife. Once you have removed any loose texture, lightly sand the surface with sandpaper or a sanding sponge to create a smooth and even finish. Take care not to press too hard as this can damage the ceiling. After sanding, use a bucket with warm water and mild detergent to wash away any dirt and grime. Dip a sponge or cloth into the soapy water and gently scrub the ceiling. Rinse the sponge or cloth frequently and change the water as needed to ensure a thorough clean. Finally, allow the ceiling to dry completely before moving on to the painting process. By following these steps, we can ensure that our popcorn ceilings are properly cleaned and prepared for a fresh coat of paint. For additional insights on dealing with different types of existing paint, read about the compatibility of latex primer with oil-based paint.
Table of The Pros and Cons of Painting Over a Popcorn Ceiling
| Popcorn Ceiling | No. of People |
|---|---|
| Yes | 152 |
| No | 48 |
| Not Sure | 30 |